🧶 1. Introduction
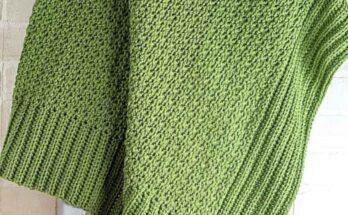
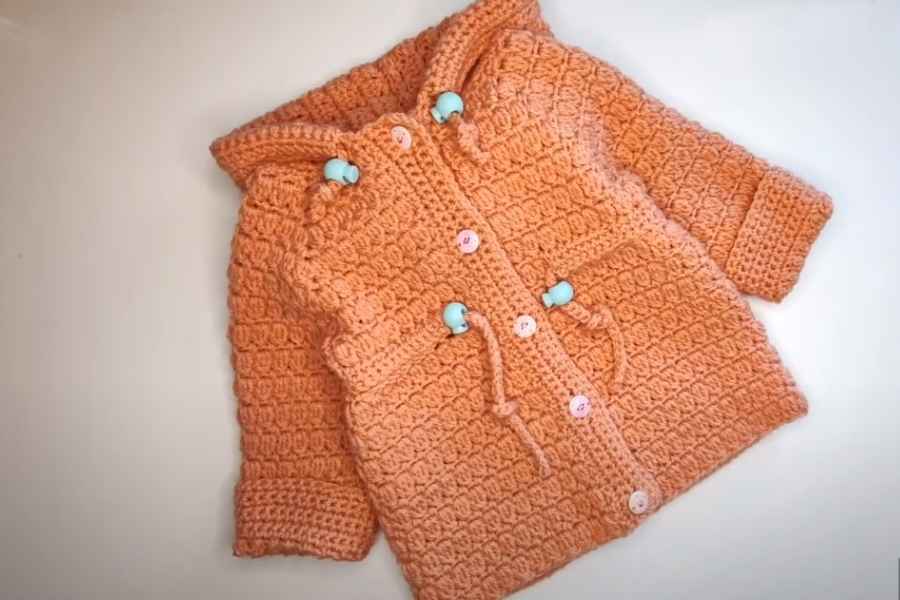
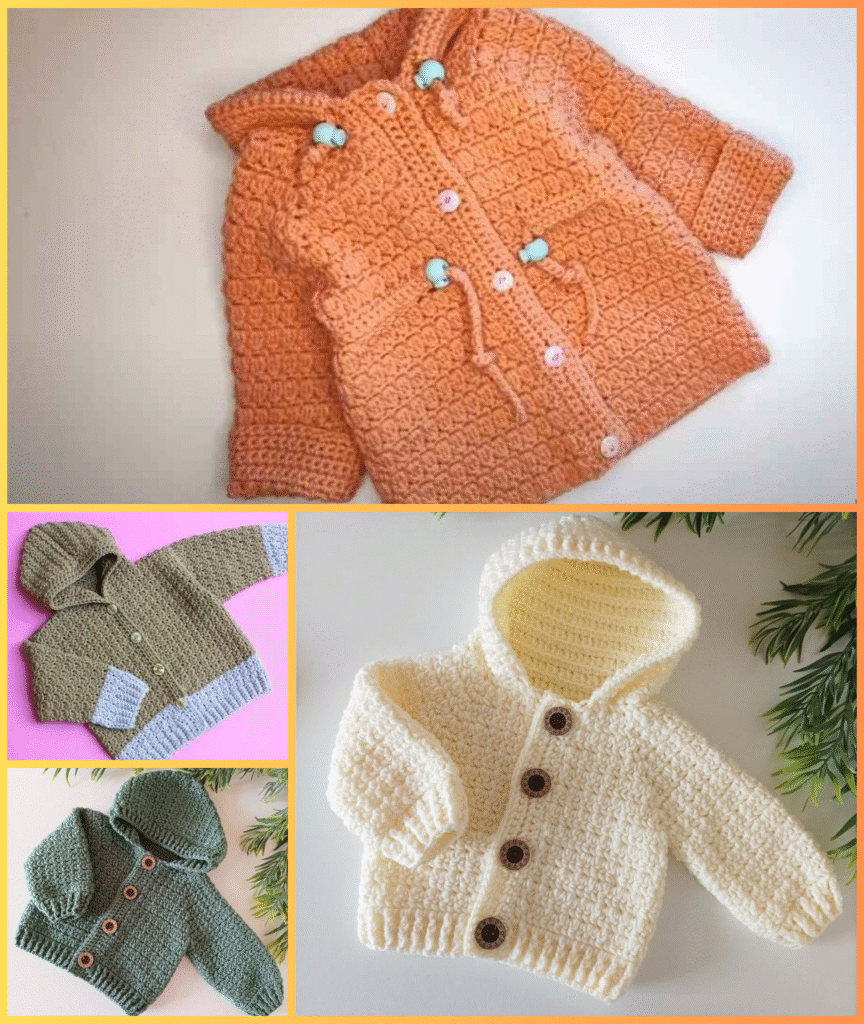
This raincoat-style baby hoodie is more of a soft layering sweater — inspired by a raincoat, but made with breathable yarn for everyday wear. The simple design makes it beginner-friendly, and the hood adds extra cuteness and warmth!
🧵 2. Materials Needed
- Worsted weight yarn (soft acrylic or cotton blend)
- 4.5 mm crochet hook
- Yarn needle
- Scissors
- 3–5 medium buttons (for closure)
- Stitch markers (optional)
🧸 Stitches used:
- Chain (ch)
- Single Crochet (sc)
- Half Double Crochet (hdc)
- Double Crochet (dc)
- Slip Stitch (sl st)
📏 3. Size Guide (0–12 months)
| Age | Chest Width | Hoodie Length |
|---|---|---|
| 0–3 mo | 16″ | ~9″ |
| 3–6 mo | 17–18″ | ~10″ |
| 6–12 mo | 19–20″ | ~11–12″ |
Adjust by adding rows or using a larger hook.
🧵 4. Step-by-Step Instructions
🧥 Step 1: Body (Worked in one piece)
- Ch 44 (0–3 mo)
- Row 1: hdc in 2nd ch from hook, hdc across
- Rows 2–14: ch 1, turn, hdc across (add more rows for larger sizes)
- Create armholes:
- Fold piece in thirds
- Leave spaces on each side (about 6–8 sts)
- Continue working back and forth for the middle body panel
👕 Step 2: Sleeves (Make 2)
- Ch 18
- Work in hdc rows until sleeve measures ~4–5″
- Fold into a tube and seam up the side
- Attach sleeves to the armholes on body
🧢 Step 3: Hood
- Attach yarn at the neckline
- Ch 2, dc across neckline
- Continue working dc rows, shaping slightly to curve
- ~6–8 rows total
- Fasten off and fold top edge together
- Seam top to create hood shape
🧷 Step 4: Button Band & Finishing Touches
- Work sc or hdc around front edges and hood for neat border
- Add buttonholes on one side (ch 2, skip 2 sts)
- Sew buttons on opposite side
- Weave in all ends securely

✅ 5. Conclusion
Your Raincoat Baby Hoodie is ready! 🌦️🍼
It’s light, comfy, and super sweet — perfect for layering during breezy days or springtime strolls. Make it in classic yellow, soft pastels, or bold colors for a standout handmade outfit.
Pattern and tutorial by Simona Crochet